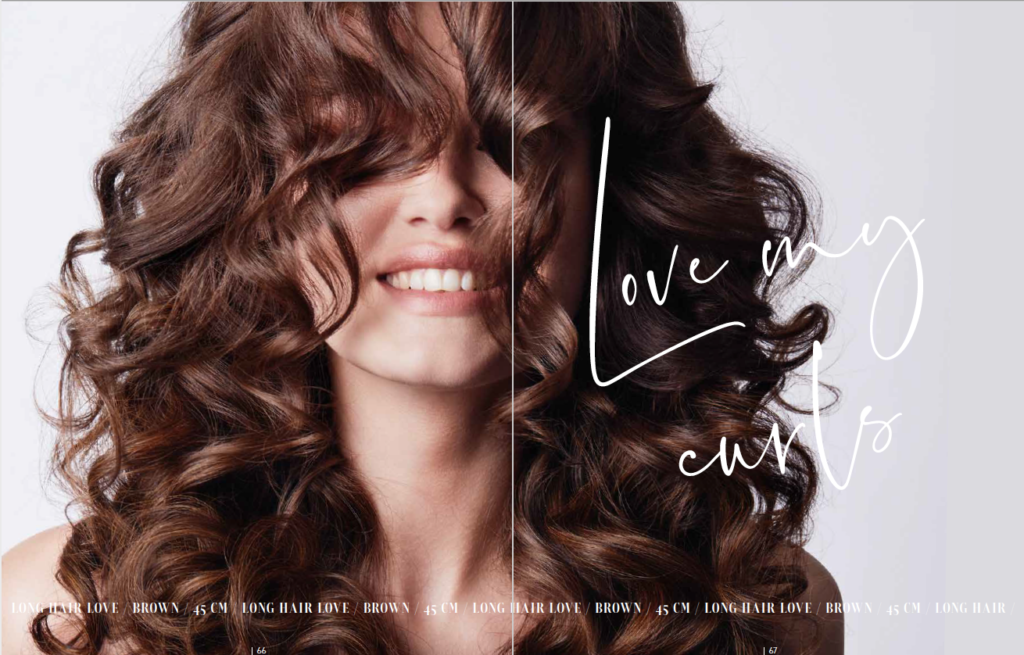
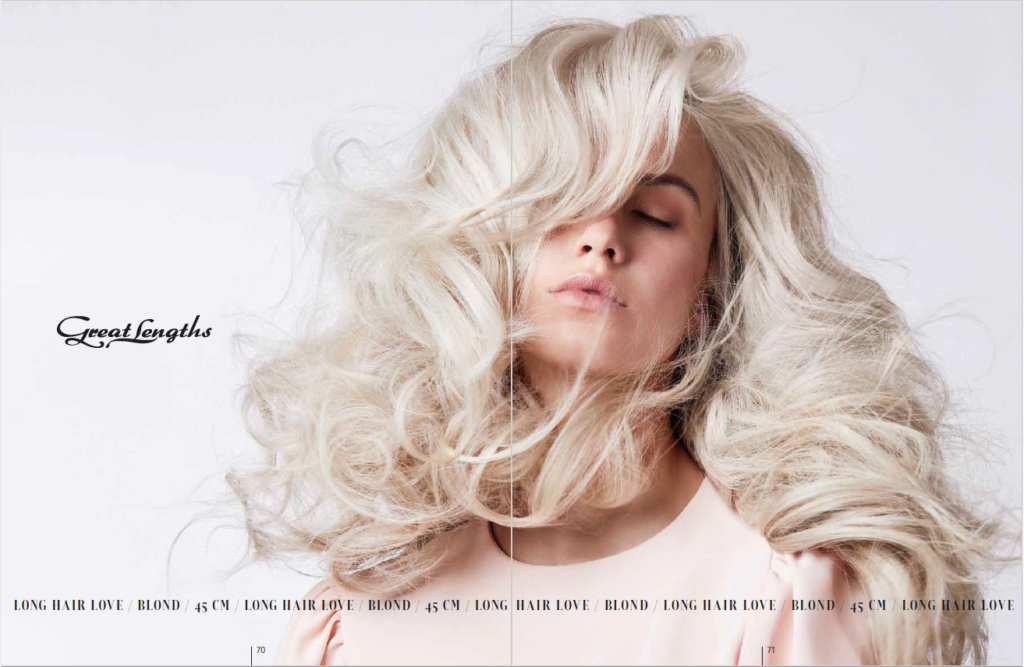
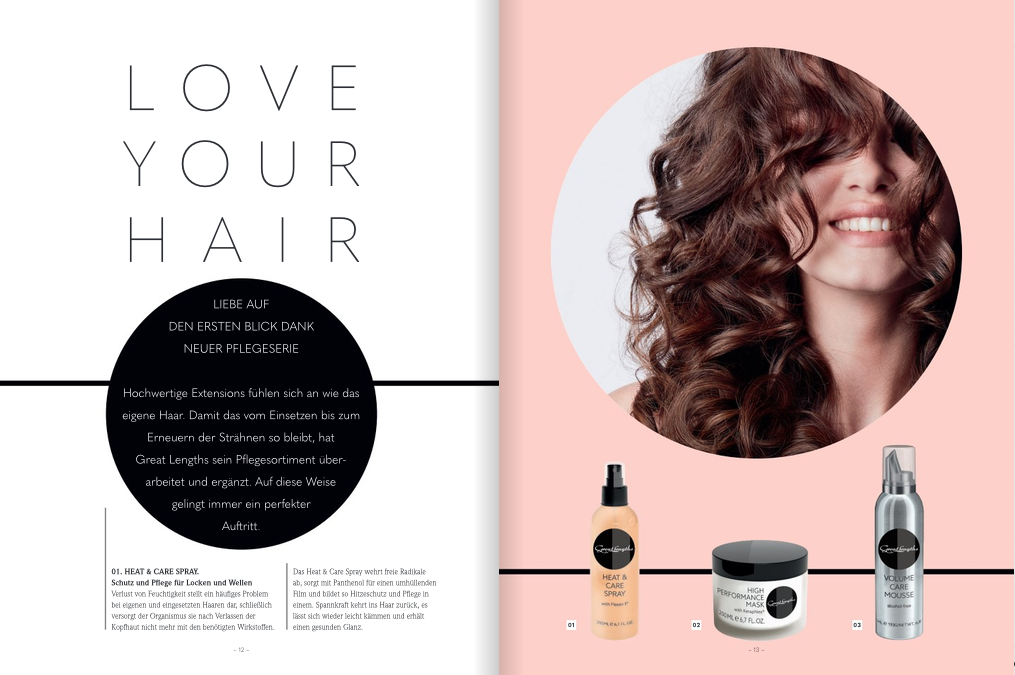
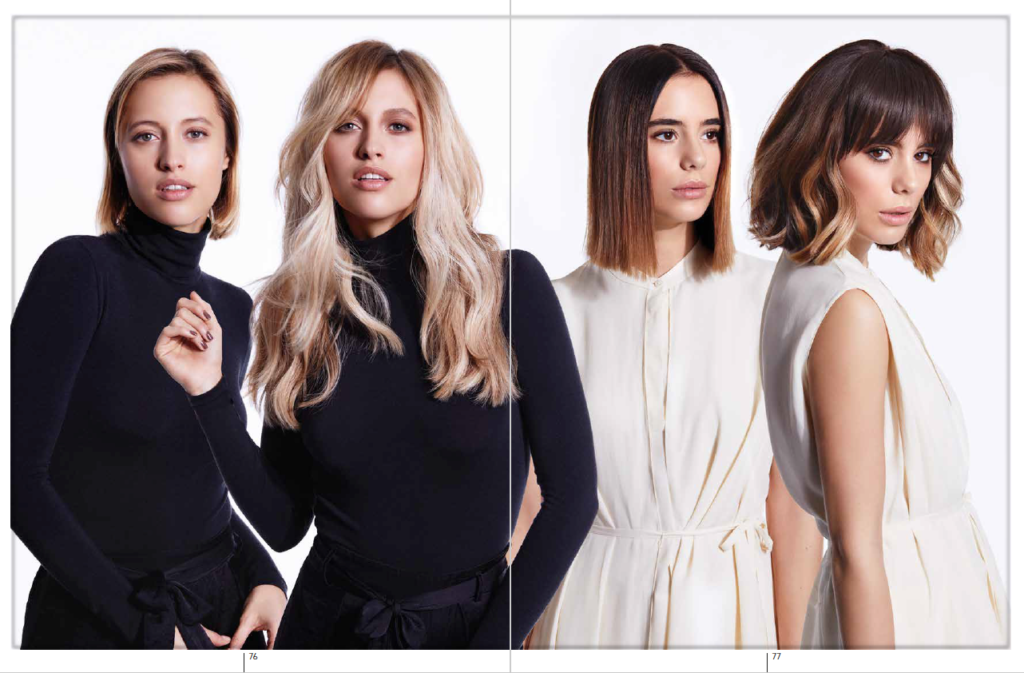
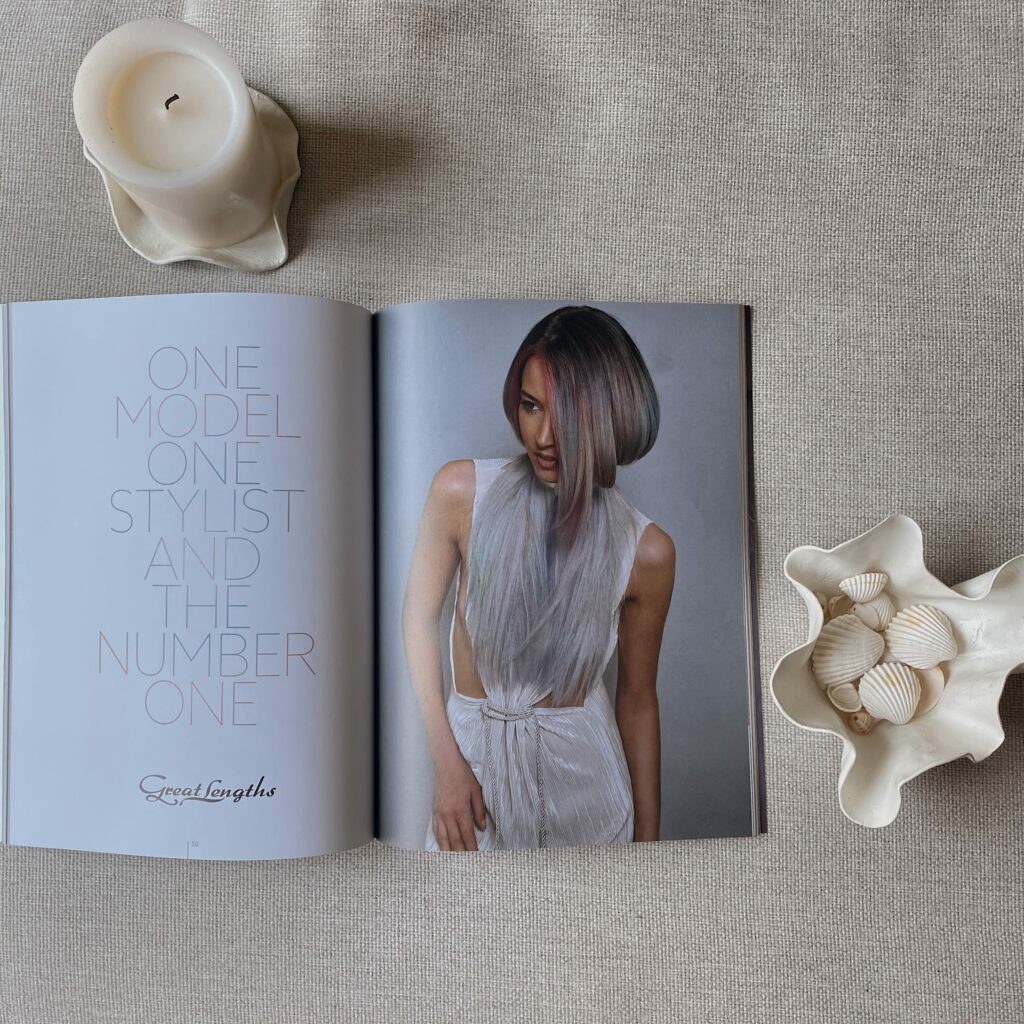
Today I want to share with you my visual branding work for Great Lengths. Over the last years, we have been working together on their new campaigns, catalogues and product launches. ✨
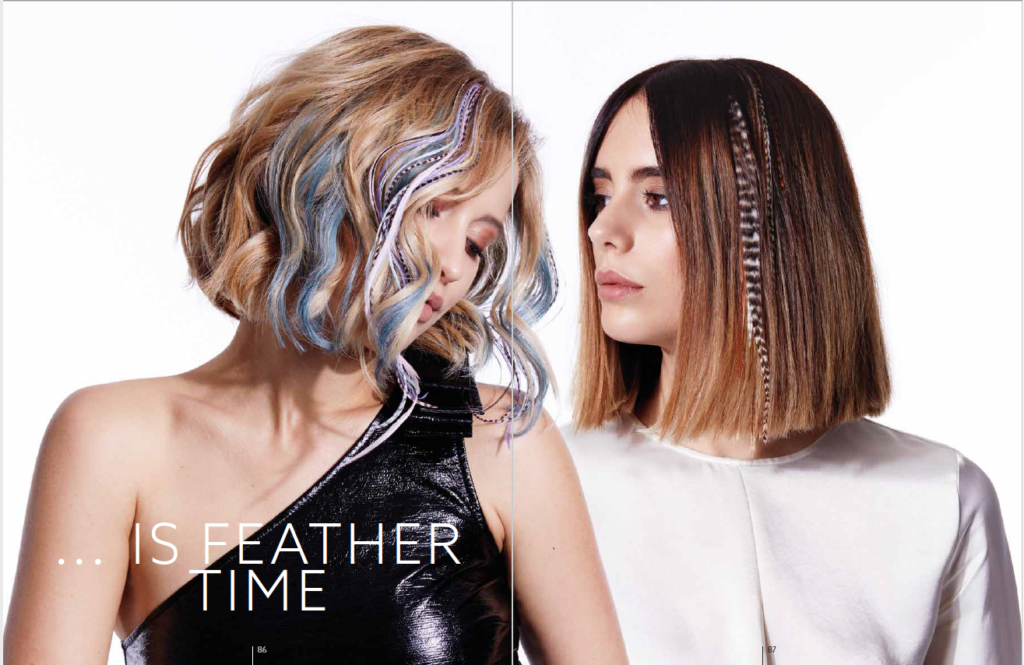
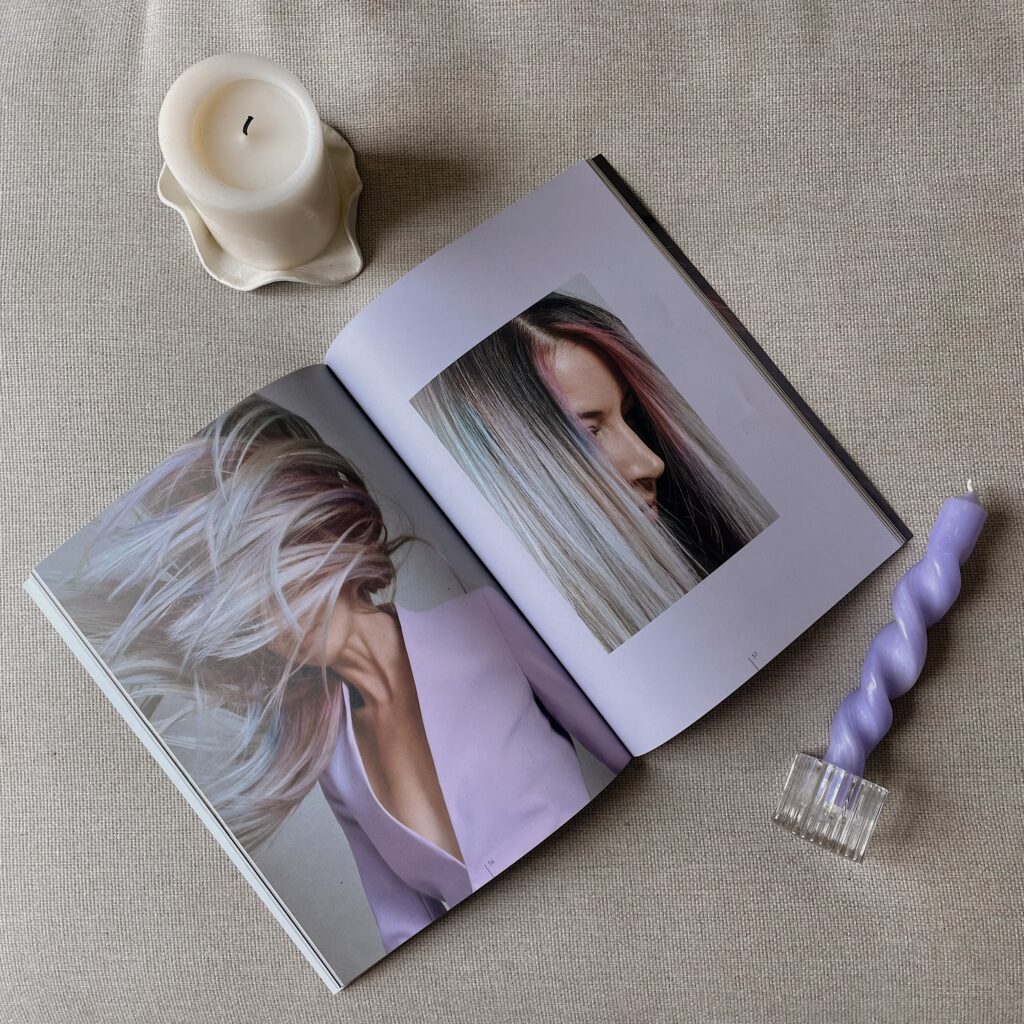
The quality of the photos and print products is very high and exclusive, due to that the visual branding has to be on point. Great Lengths is the world’s leading company for hair extensions. The HQ is based in Austria, very close to my hometown, that is why it is even more exciting to work with Great Lengths.
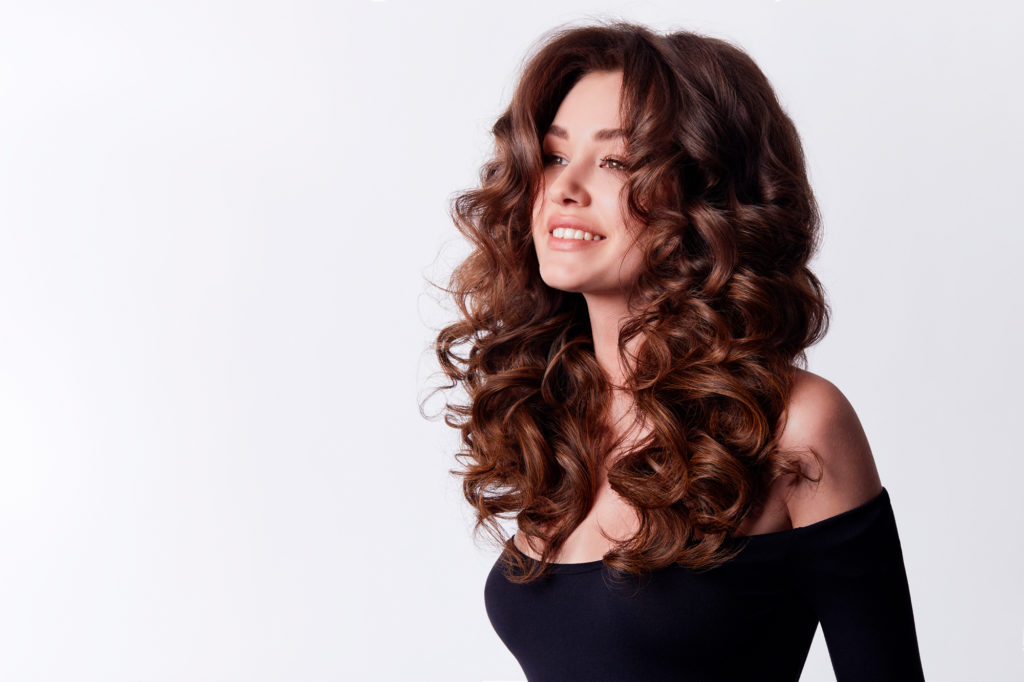
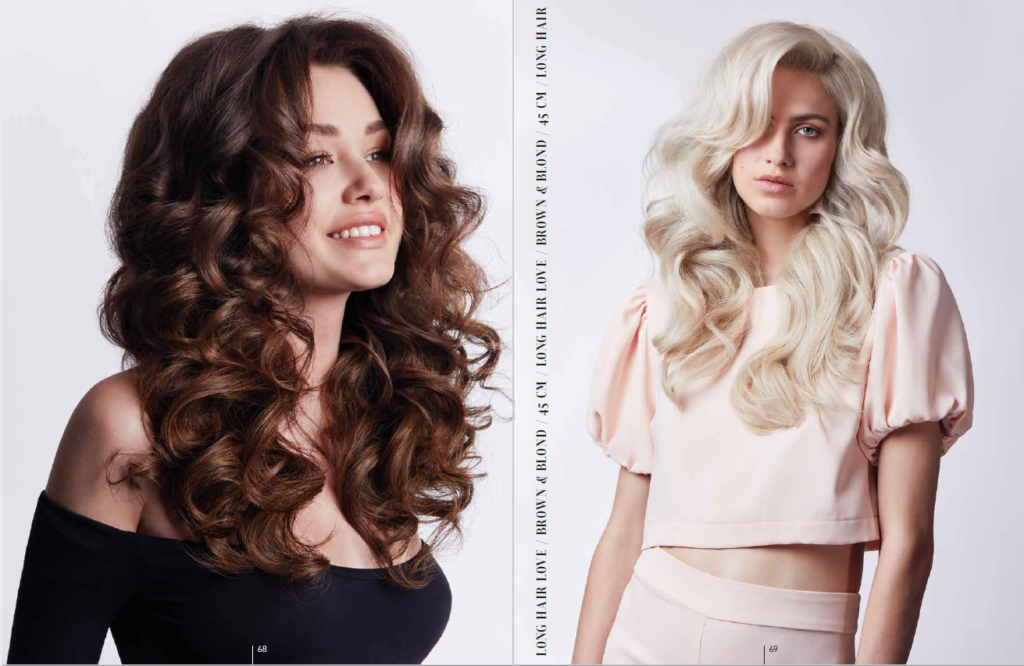
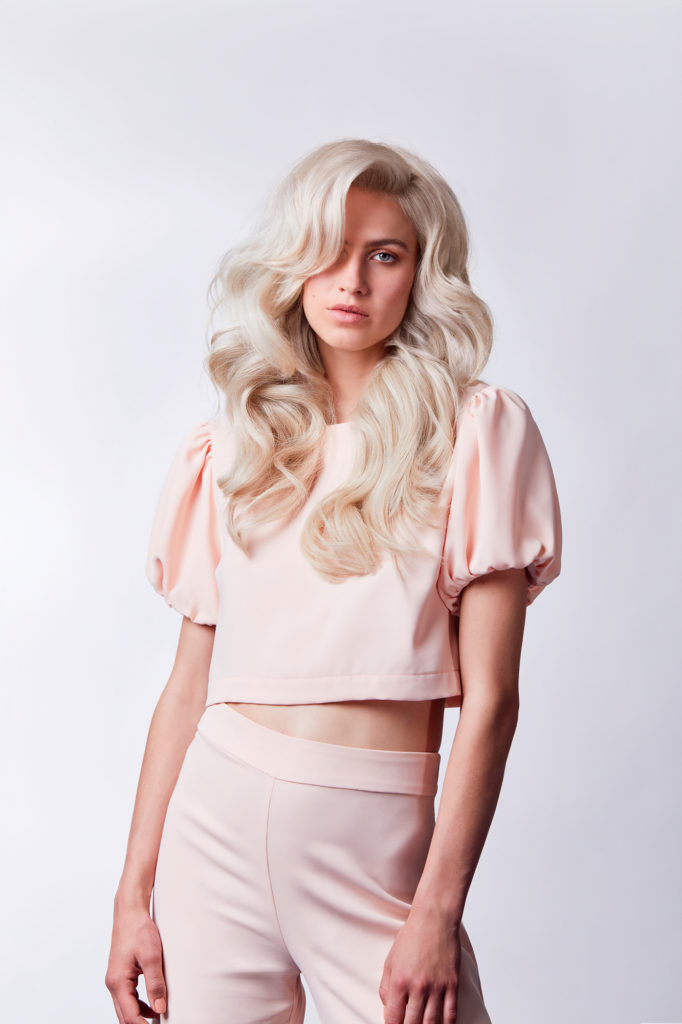
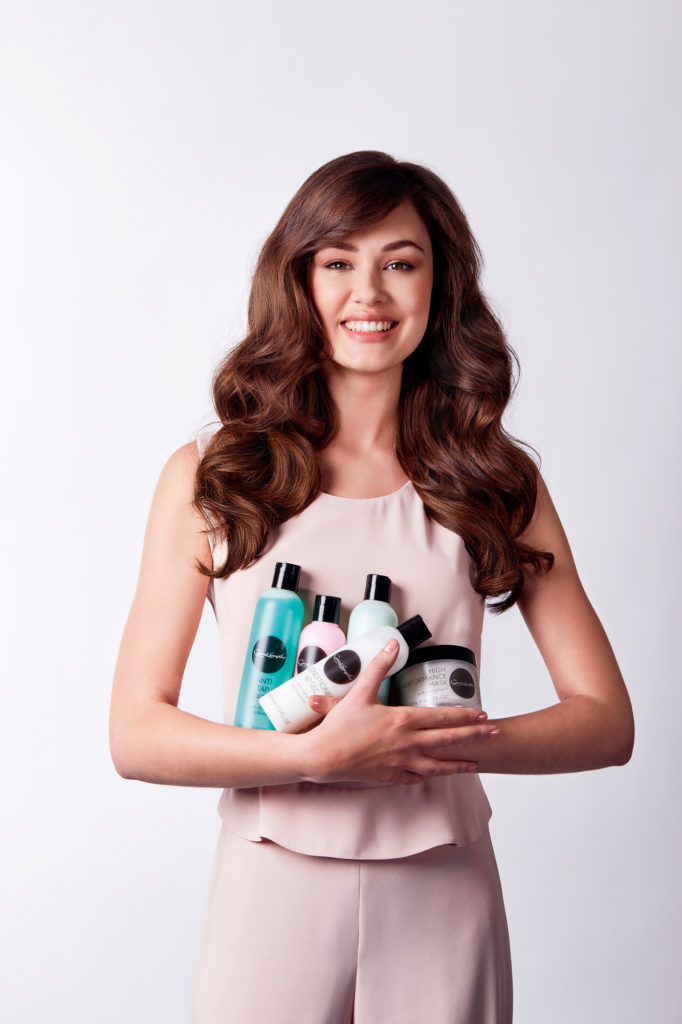
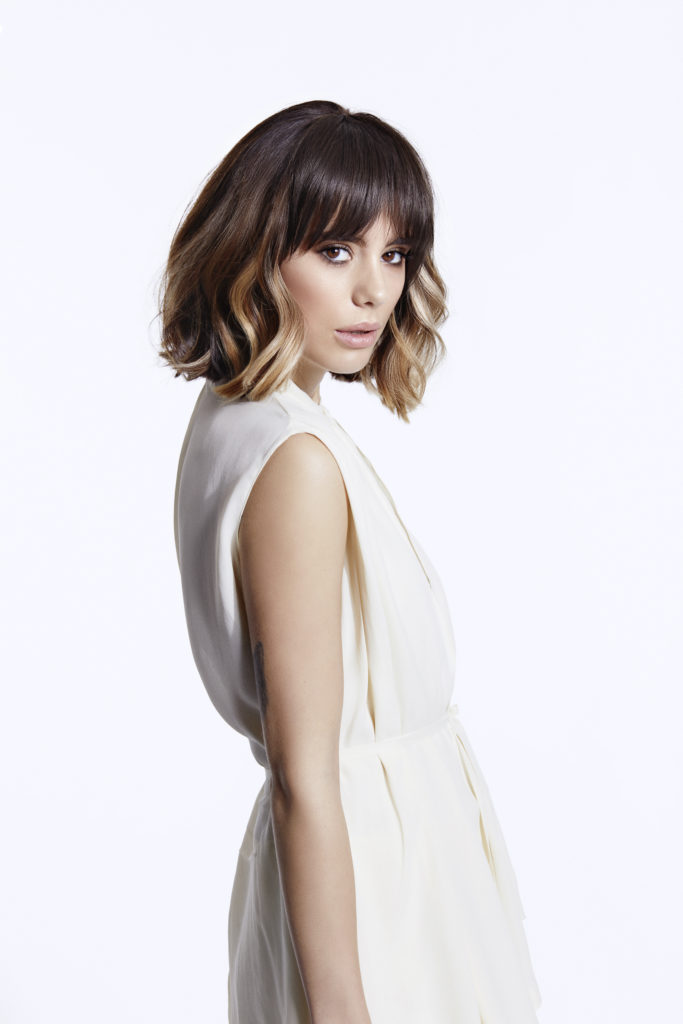
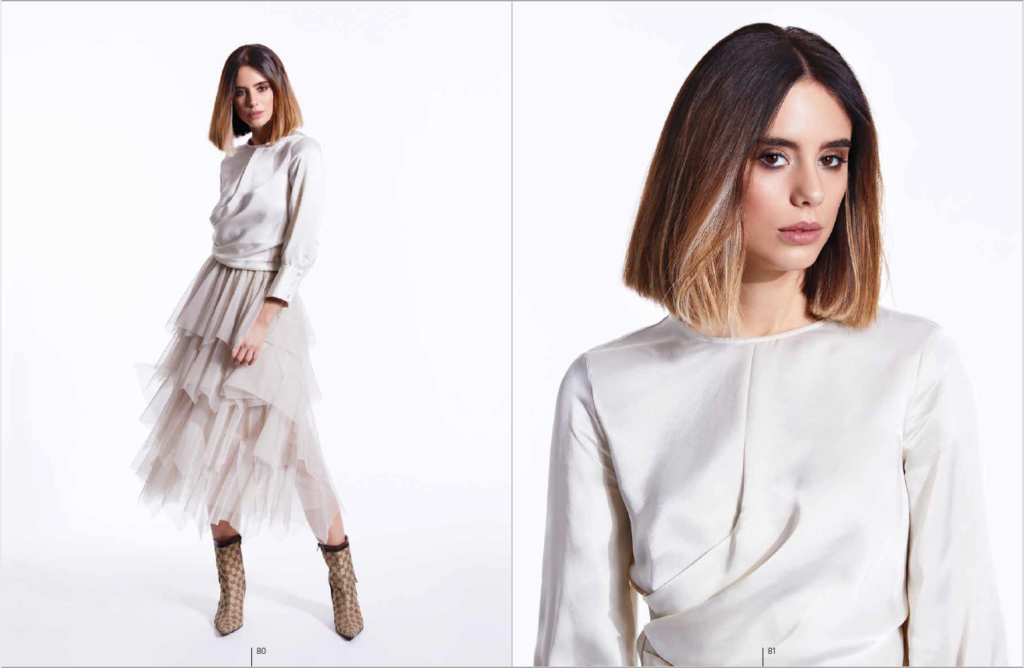
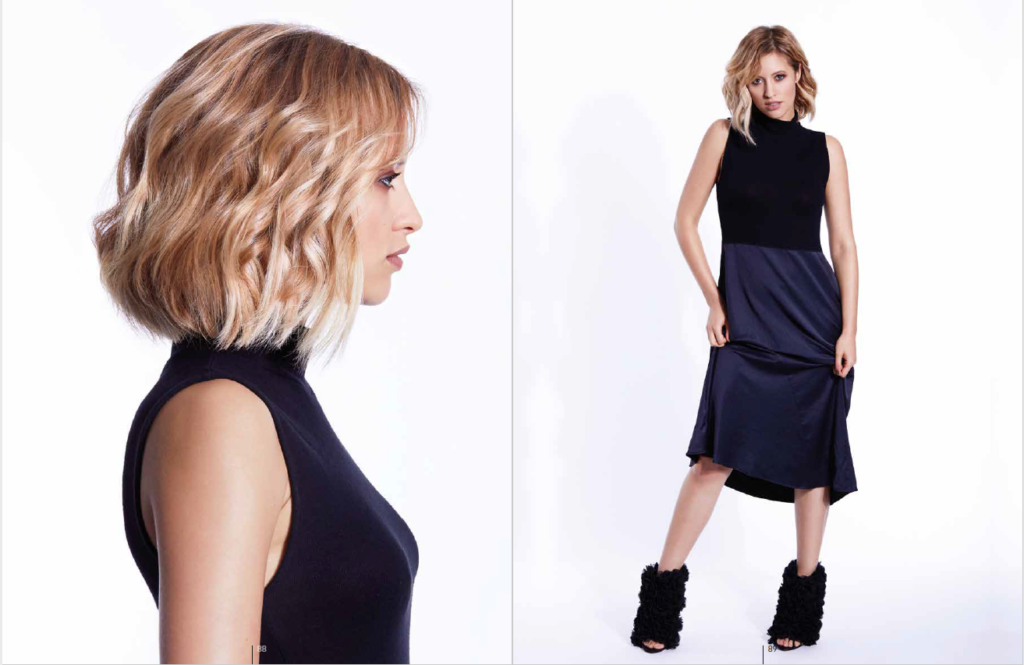
The hair is the focus, the clothes need to complement the hairstyle and not take away the attention. This is something to keep in mind during the whole production process!

Here is a step-by-step guide for creating a visual branding concept
1. Get the creative team together.
After deciding who will take part in the photo production, it is important to have a clear idea of who will be in charge of what parts of the photoshoot. When the team is right, half the work is done.
2. Create a mood board.
This is the crucial part of a successful photoshoot. The Creative Director collects the ideas and wishes of the brand and brings them to paper with the team. After having a clear vision of the photoshoot, other processes can start.
3. Choosing the right model.
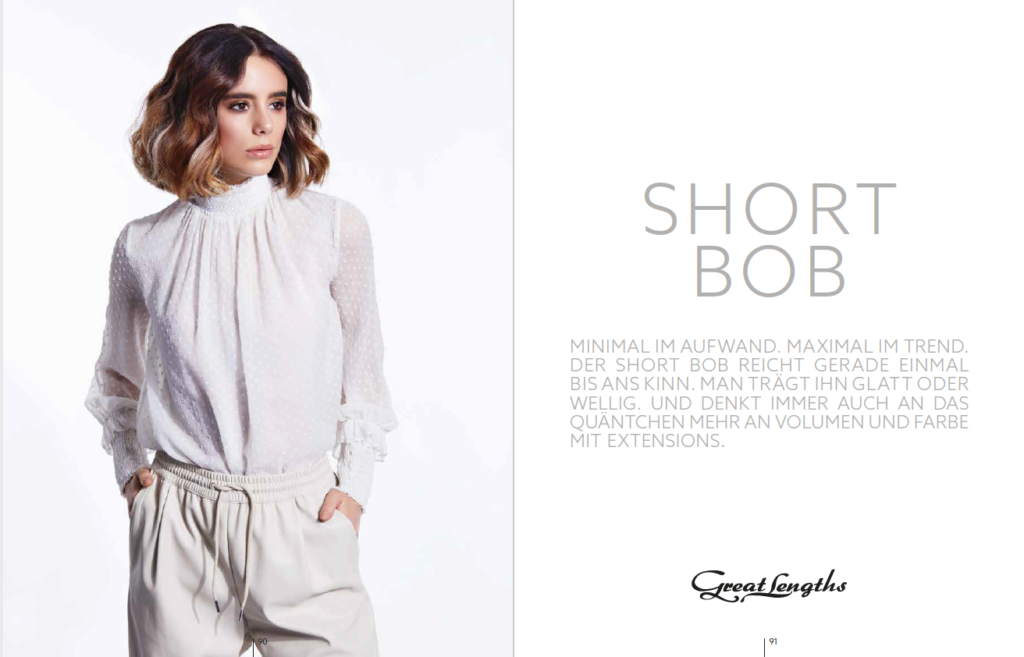
Especially in a photoshoot, where mainly headshots and details of the face will be shown, the model has to be able to deliver the message of the brand. After finding the right model, the stylist’s work can start.
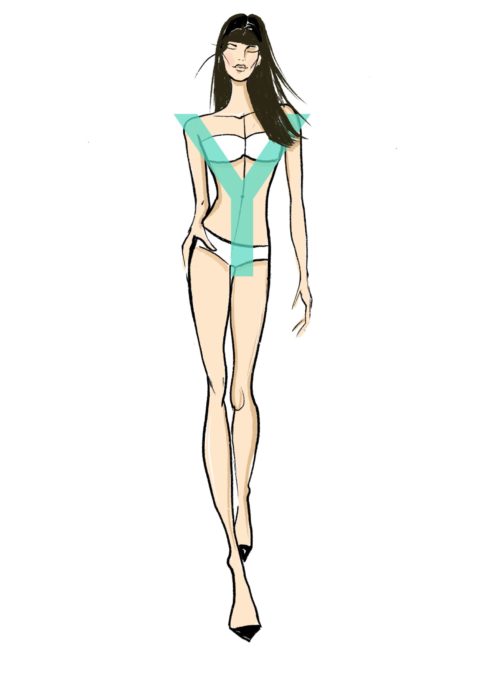
4. Finding clothes that match the model, the brand and creative direction.
This is where my visual branding workflow takes off. Based on the mood board of the Creative Director, sizes, measurements and look of the model I start researching brands, designers and outfits.
It is very important to have a colour scheme beforehand, so I can research more precisely. Sizes come second because as a fashion stylist I am used to adjusting clothes with clips and tape (Small tip on the side – it is always better to choose the bigger size instead of the smaller one because it is easier to make clothes smaller than bigger). After collecting all the possible outfits I am sharing them with the creative team and we make a selection together.
5. Be prepared for changes on set.
As we are most of the time starting this process remotely I always bring more clothes to the set, because you need a backup in case of an “emergency”. For example, the model could have different sizes than written in the book, the model can become sick shortly beforehand and we have to get a replacement model. Colours can appear different on screen than in real life. Sometimes the team has ideas on set and wants to change looks, settings, hairstyle, outfit… As a fashion stylist, you have to be prepared for every possible change which may pop up.
6. Talk to a graphic designer, photographer and retoucher.
In order to get the best result, everyone shall work together and exchange opinions. It is important to understand the work of every team member, so you can make life and work easier for each other. Ask the photographer about light, colours and patterns. Ask the graphic designer about colours, which will appear close to the image. The graphic designer can also tell you best, which parts of the photo will be placed where in the catalogue, so you can focus on the main part of the image. The retoucher can help you with explaining the work of colour correction, reducing wrinkles, creases or tricky parts of the outfit. By knowing the workflow of retouching, you can reduce work for the after production by knowing how to fit, place or style certain outfits.
After considering all these steps, you will have a well-prepared road map for a professional photoshoot and will get your visual branding to the next level.
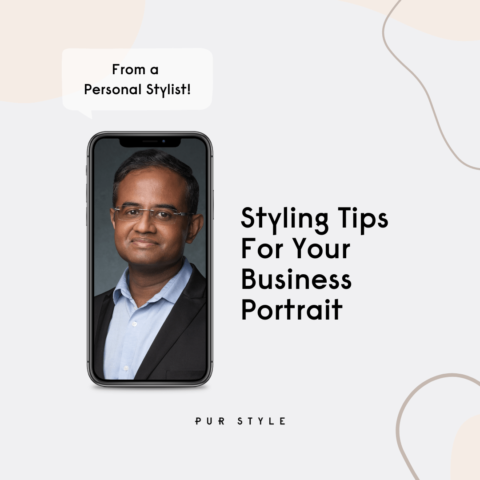
And remember: Whenever you need help with the selection of colours or outfits for your photoshoot, you can book the Pur Style services by the hour in-person or online here.